エージェントの作成
👋 こんにちは、
CLAYDYでエージェントを作成する方法に飛び込みましょう!
あなたが乗ったら CLAYDYダッシュボード をクリックすると、ラベルの付いたセクションが表示されます エージェント .
![app.claydy.com のWebページの左側に「こんにちは、デモ!」というウェルカムメッセージが表示されます。その下には、エージェントとフォームの2つのAI機能があり、それぞれにアイコンと説明があります。矢印は [エージェント] ボタンを指しています。右側には、「デモユーザー」と表示されているマイアカウントのショートカットがあります。左下隅には円形のメニューボタンがあり、無料のAIチャットボットにアクセスできます。](https://assets-proxy.multilipi.workers.dev/claydy.com/wp-content/uploads/2024/07/2024-07-24_10-03-49-1024x669.png)
そこから先は、とてもシンプルです。見つけてクリックするだけです 創造する 画面上部のボタン。

をクリックした後 創造する ボタンをクリックすると、新しいウィンドウが表示され、入力するように求められます。 エージェントの名前 .
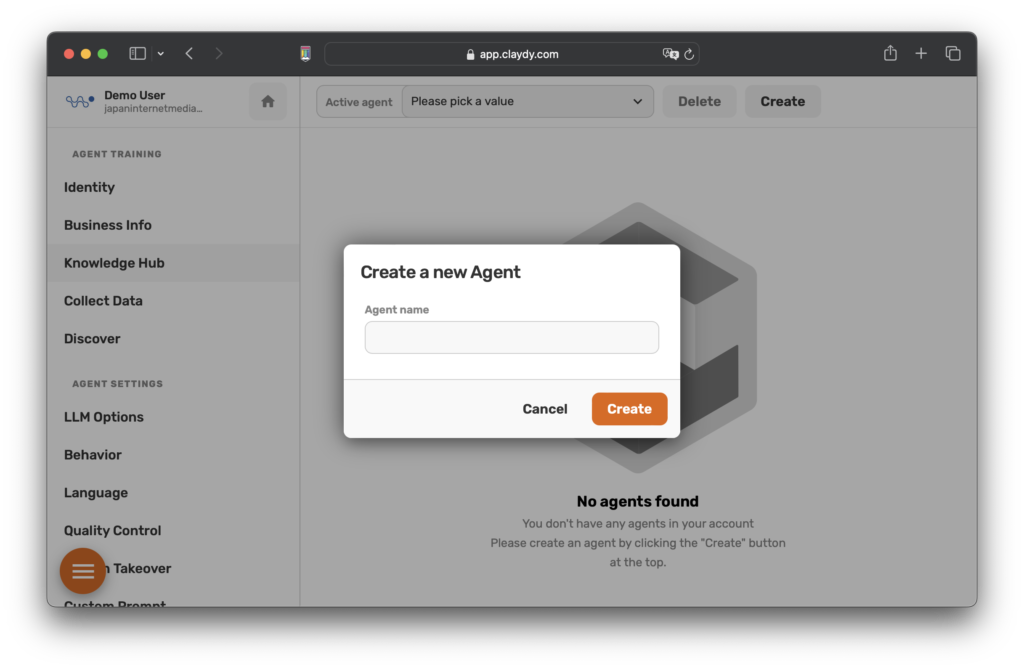
クリック 創造する 再び、そして出来上がり!これで、新しいエージェントがワークスペースでアクティブになりました。
これで、新しく作成されたエージェントは、あなたのビジネスについて学び、Webサイトの訪問者とのやり取りを開始する準備が整いました。
それはただの新生児であり、他の新生児と同様に、指導が必要であることを覚えておいてください。ナレッジハブを使用してエージェントをトレーニングする必要があります。しかし、それについては後で説明します。
これで、最初のエージェントが作成されました。ハッピートレーニング!🎉🎉